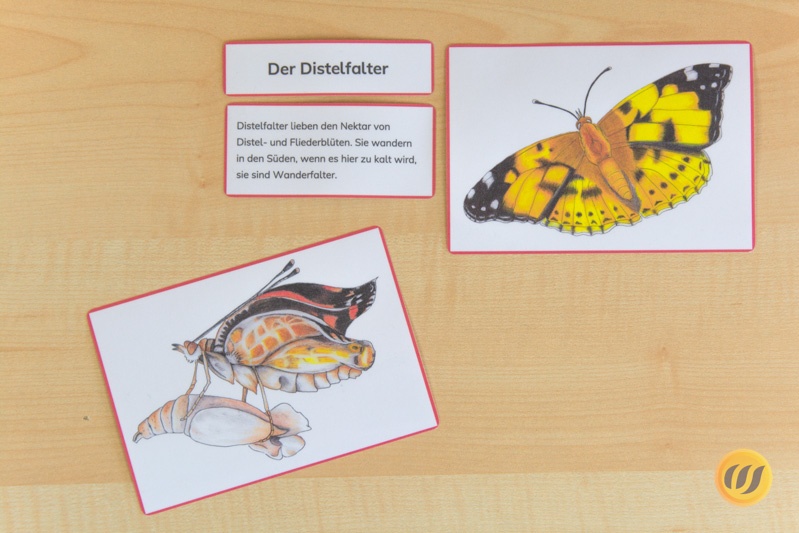
The life cycle of a painted lady as a layered puzzle.

<< Amazon-(Affiliate)-Links [respectively the whole Amazon cart] will provide a small percentage – without additional cost to you! >> therefore we have to mark this article as #ad ;-) . <<
Introduction
Because the children of our Children's House got a chance to observe the transformations of some painted ladies, I got inspired to make another layered puzzle. The other puzzles feature the life of a snow drop (plant with bulb), the life of a bean (plant with seed) and the life of a frog.

Required materials
- 4 sheets of plywood birch (20x30cm, 4mm thick)
- Ink and / or food coloring
- Coping saw and blades
- Hot glue gun with sticks
- Sandpaper
- homemade beeswax polish
Please use the slightly more pricely plywood BIRCH - it is mor durable and more pleasing to hand and eye. Don't use poplar, the longer fibers will ruin your color-artwork!
Steps
Print out the template and cut the butterfly out with all of its puzzle pieces. Fix the puzzle parts of the top layer onto a piece of wood and transfer the outlines using a pencil.
Using a drill make a little hole on the line and feed the coping saw through. Carefully cut out the puzzle pieces.
Sand the puzzle pices and the negative shapes. Place the pieces in the negative form and test if everything fits, if a piece is too tight sand again till it fits perfectly. Then glue the negative shape onto a new piece of plywood board.
Put the negative shape on the second layer and trace the parts for the second layer with pencil - this way you can adjust to any small irregularities and "mistakes" that may have occurred.
Repeat these steps for the third layer too. Sand everything.
Glue the negative shapes onto the fourth plywood board. Paint the puzzle pieces with ink or food colouring - for the outlines and the drawing you can also use a fine-Liner pen.
After they have dried rub Beeswax polish onto the pieces and the negative form, take off any excess of the wax with a cloth.

Downloads
Sawing template - Free
Kartenmaterial
Leseheft
No time to make your own?
You can buy this puzzle nowhere - but there are some layered puzzles available - but their pieces are random - you can't give them a name for each part of the butterfly.
Next step: deepening knowlegde, following interests:
- Interests: Plants Vocabulary
- Skills: Concentration fine motor skills Hand-Eye-Coordination
- Type of Play: Jigsaw puzzle
- Sensitive Period: Sensitivity for Language


